
AETHUS into the darkness: Underground Exploration and Survival Guide
Descending into the darkness beneath Claim AZ1 requires preparing lighting tools, monitoring oxygen depletion, and blasting stone blockages. Crafting Glowsticks and Oxygen Domes before entering the underground cave network keeps Maeve alive while investigating abandoned facilities and gathering subterranean ore.
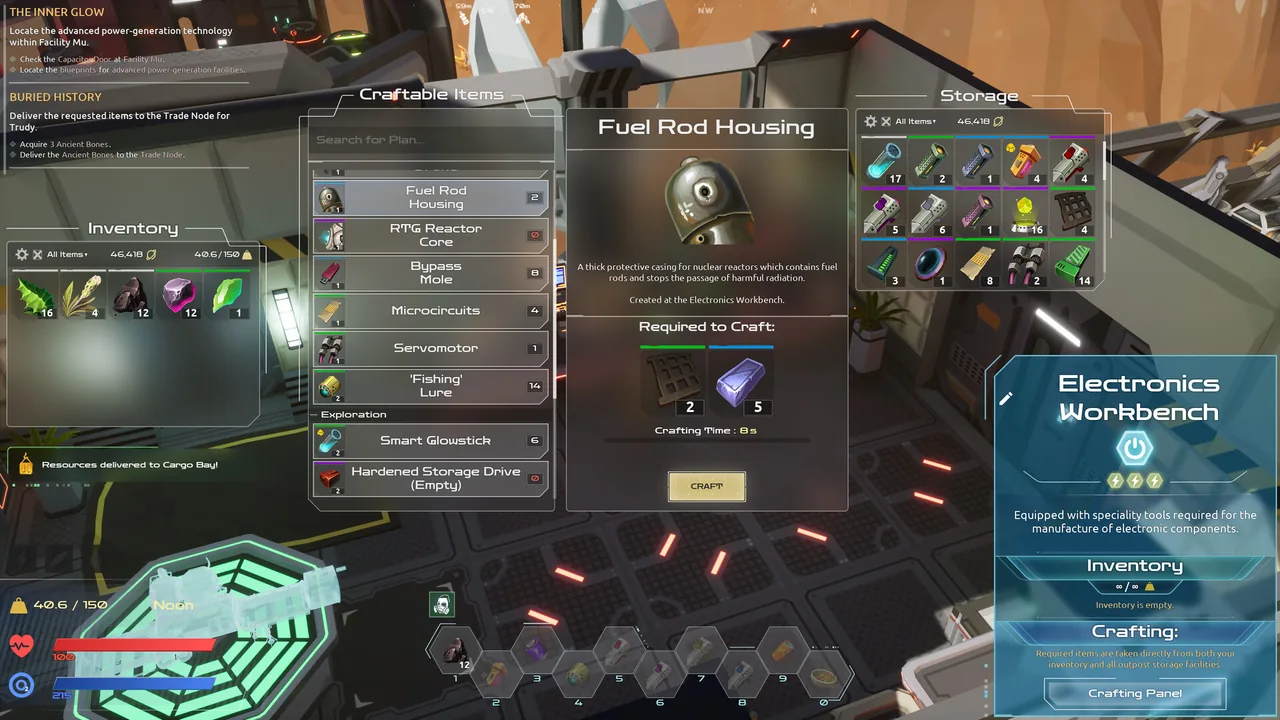
Descending into the darkness beneath Claim AZ1 requires preparing lighting tools, monitoring oxygen depletion, and blasting stone blockages. Crafting Glowsticks and Oxygen Domes before entering the underground cave network keeps Maeve alive while investigating abandoned facilities and gathering subterranean ore.
Underground Survival Hazards and Oxygen Management
Subterranean exploration places immediate pressure on life support systems. Oxygen drains rapidly when Maeve moves away from surface air supplies, making unupgraded gear risky for extended ventures. Prioritizing best upgrades for suit tanks directly extends the time available to scout deep tunnels and abandoned corporate rooms.
Deployable oxygen stations allow miners to create safe pockets inside distant caverns. A standard Oxygen Dome costs two Oxite and one Kalynite Bar at the Crafting Bench, while the Oxygen Dome Mk2 requires four Oxite, one Kalynite Bar, and one Basic Electronics unit. Placing these domes along cave routes prevents suffocating during long mining runs. Power and item storage remain unified throughout the entire outpost system, meaning generators built inside shelters provide power across all connected sections automatically.
Lighting and Navigation Tools for the Descent
Visibility drops significantly once you leave the sunlight behind Claim AZ1. Glowtus Plants growing near the cave entrance provide the primary components for portable field lights. Harvesting a Glowtus Plant drops Glowtus Fruit, Glowtus Seeds, and plant remnants. Surface palm trees and desert cacti also provide biomass to support auxiliary outpost fabrication.
Fabricating illumination items keeps hazards visible while mapping uncharted cavern branches:
- Glowstick (x2): Costs one Glowtus Fruit at the standard Crafting Bench.
- Smart Glowstick (x2): Costs one Glowtus Fruit and one Basic Electronics at the Electronics Workbench.
Basic Electronics require five Silica and one Solazine. If inventory limits feel restrictive during gear preparation, the modifier settings menu provides carry capacity adjustments at any point during active play.
Clearing Cave Obstacles and Mining Tunnels
Subterranean passages frequently contain large rock outcrops that block passage to lower facilities. Standard mining tools cannot break through these dense formations, requiring explosive clearing gear thrown using the R key. Learning how to use terraforming charge tools clears blocked passages into deep hubs.
- Mining Explosives: Crafted from two Solazine and one Kalynite Bar.
- Terraforming Charge (S): Crafted using one Mining Explosives, one Kalynite Bar, two Solazine, and two Oxite.
- Quakemaker Charge: Combines one Terraforming Charge (S) with one Basic Electronics to trigger an immediate artificial tremor.
Cavern ore veins deplete through excavation, but earthquakes replenish mineral deposits across the map every three to four in-game days. These natural tremors also shuffle node spawn spots throughout the tunnels.
Subterranean Exploration Gear Decisions
The table below outlines equipment options for preparing an underground descent:
| Exploration Gear | Target Purpose | Required Materials |
|---|---|---|
| Glowstick (x2) | Short-range lighting in dark corridors | 1 Glowtus Fruit |
| Oxygen Dome | Breathable outpost bubble in deep sectors | 2 Oxite, 1 Kalynite Bar |
| Terraforming Charge (S) | Clearing obstructed tunnels and boulders | 1 Mining Explosives, 1 Kalynite Bar, 2 Solazine, 2 Oxite |
| Basic Electronics | Component for advanced lights and wiring | 5 Silica, 1 Solazine |
Key Cave Locations and Resource Extraction
Passing beyond the cave entrance brings Maeve into several interconnected underground zones, including the Clifftop Hub, Cliffbase Hub, and the deep Crater area. Kalynite nodes scattered across the rock deliver Kalynite Ore, Solazine, Silica, and Dust Ruby. Lower pools contain Kaloxite nodes that yield Kaloxite Ore and Oxite.
Processing collected minerals through workbench recipes produces structural bars and electronics. Inside the Crater, rare Meteorite nodes yield raw Meteorite and Black Diamond chunks. Abandoned stations throughout these underground sectors also hold equipment left by earlier teams. Exploring the room outside the Climber at Facility Delta provides a readable Data Drive, while knowing where to find a power cell ensures Maeve can power down dormant machinery and unlock internal sector doors.
Next step
Wrecked Tunnel
Follow this route across the Magma Rift to place power relays, reconnect the collapsed tunnel grid, and enter Facility Tau.